My eldest daughter has been invited to a Birthday party so naturally I decided I would make something for the Birthday boy.
I didn't have much luck getting out of my daughter what her little friend is into, so I'm playing it safe with a crayon roll. I did think about an craft apron but thought a little boy might turn their nose up at an apron.
Since I'm making this up as I go along (based on the many many crayon rolls I've seen and owned) I thought I might as well make it into a tutorial.
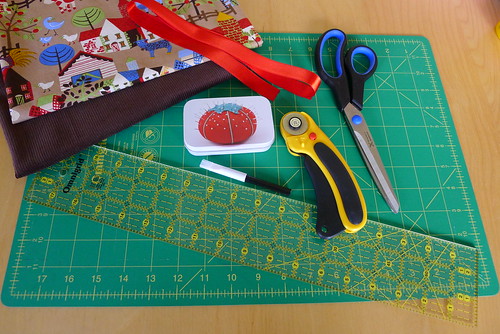
Supplies
Main fabric
Contrasting fabric
Ribbon
Scissors
Rotary cutter (optional)
Cutting mat (optional)
Ruler
Dress pins
Dress maker pencil, or other washable pencil/pen
Sewing machine
Iron
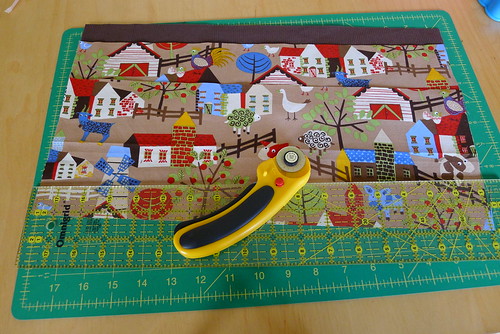
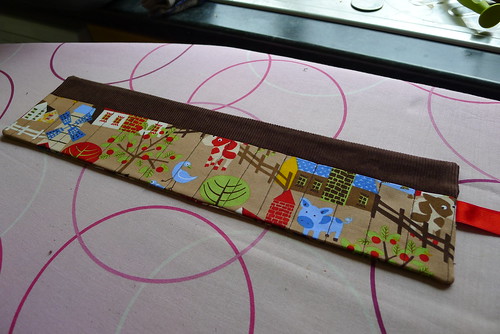
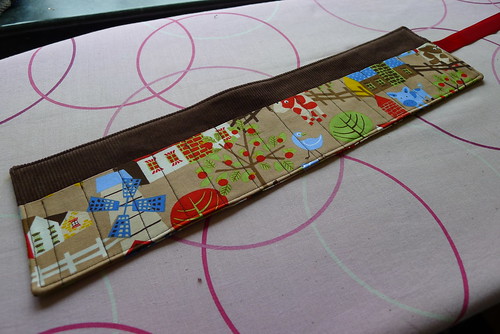
1. Cut two rectangles 17" x 5" (one from main and one from contrasting fabric) - this will form the outer layer and inner layer of the crayon roll
2. Cut one 17" x 6" from main fabric (this will form the pockets for your crayons)
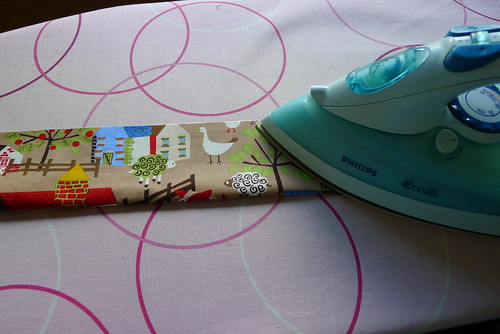
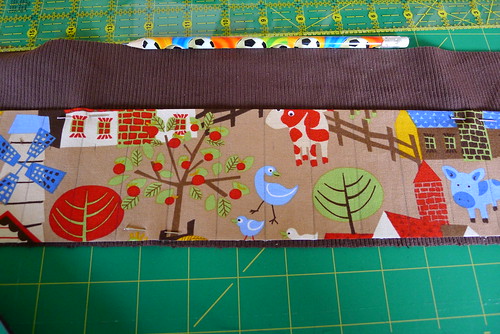
3. Wrong sides together, fold the pocket fabric in half and iron
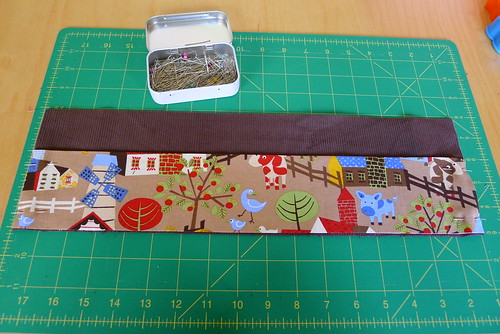
4. Place on the right side of the inner/contrasting fabric, folded edge in the middle. Pin in place
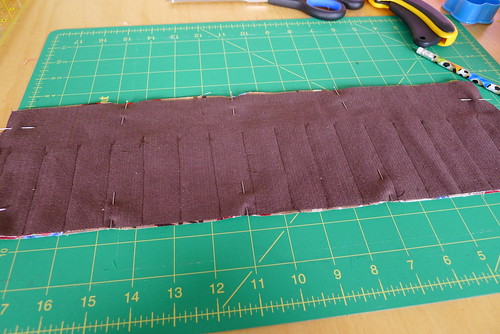
5. find the middle of the roll and draw a line on the pocket. Draw the pockets 1" apart starting from the middle line (I didn't do this and have learnt from my mistake)
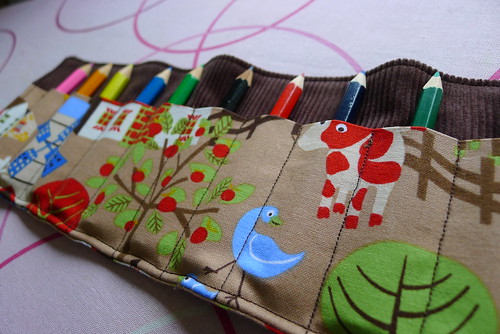
6. Sew down each line to make the pockets
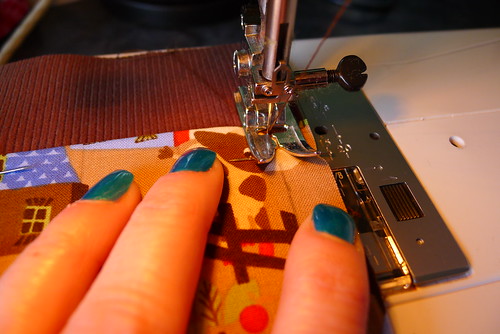
like so

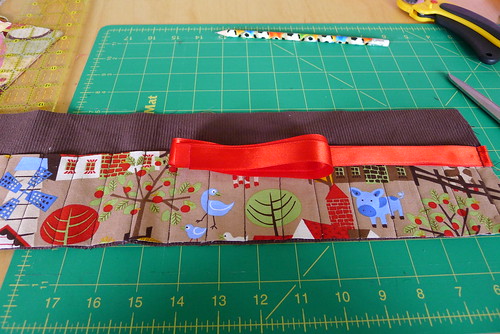
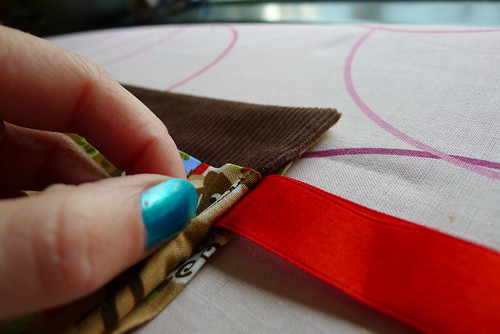
7. Fold your ribbon in half and pin folded edge to one end of the crayon roll
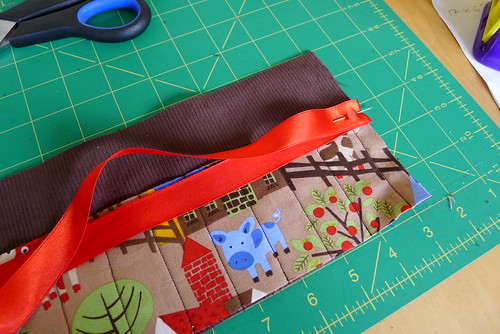
8. Sew into place. I went back and forth a few times to make it secure
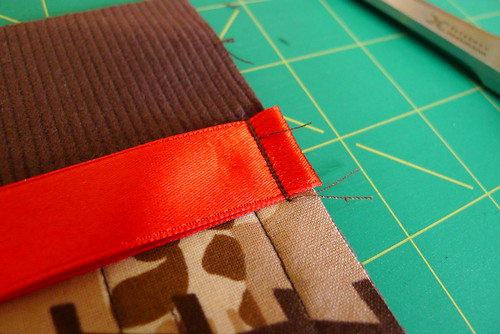
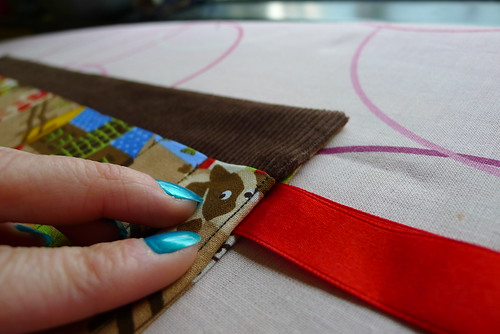
9. Fold and tuck your ribbon into the middle of your crayon roll (pin it if you must) this is to keep it from being sewn into the edges
10. Place your main/outer fabric (right sides together) down onto your pockets/inner. Pin into place (I've turned mine over because the inner was slightly smaller, but you don't need to do this).
11. Beginning 1" below the ribbon and sew all side together, stopping an inch above the ribbon so you can turn it the right way out.
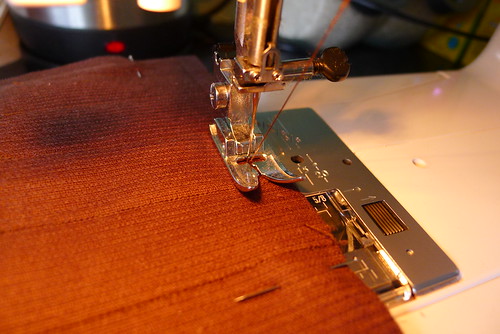
It should look like this
12. Trim any excess fabric (leaving 5mm) and snip corners

13. Turn right side out and press
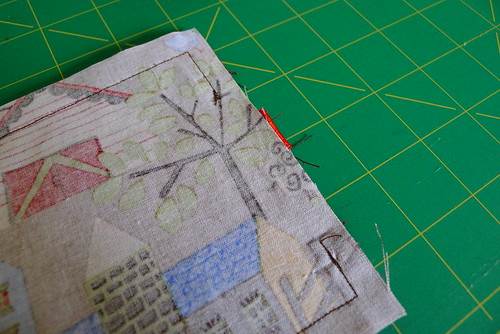
14. Fold your open edge in
like this
15. Starting on the ribbon/opn edge, top stitch around your crayon roll
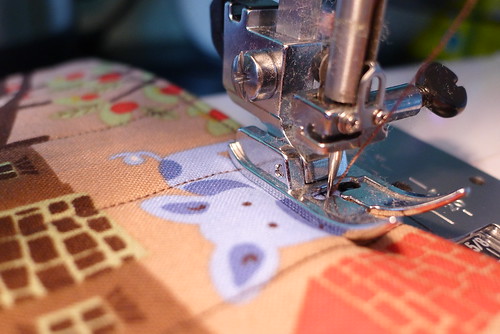
and you're done!
16. Fill with crayons or pencils
17. Roll and tie
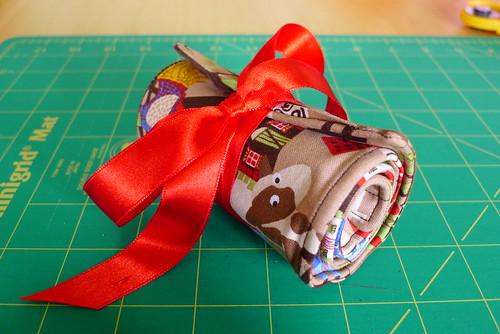
I hope the new owner likes his crayon roll.
Have you heard of Fat Quarterly? You might enjoy it!
ReplyDeletewww.fatquarterly.com
Love the blue nail polish. Oh that is such a neat gift. YOu are awesome at sewing. Thanks for the wake up call. Ineed to dust off the dust off of my machine and go town. I only sew culottes. This is a awesome project thanks for sharing it with me:)
ReplyDelete